
Valentine Cupcakes: 5 Blissful Reasons to Bake Today
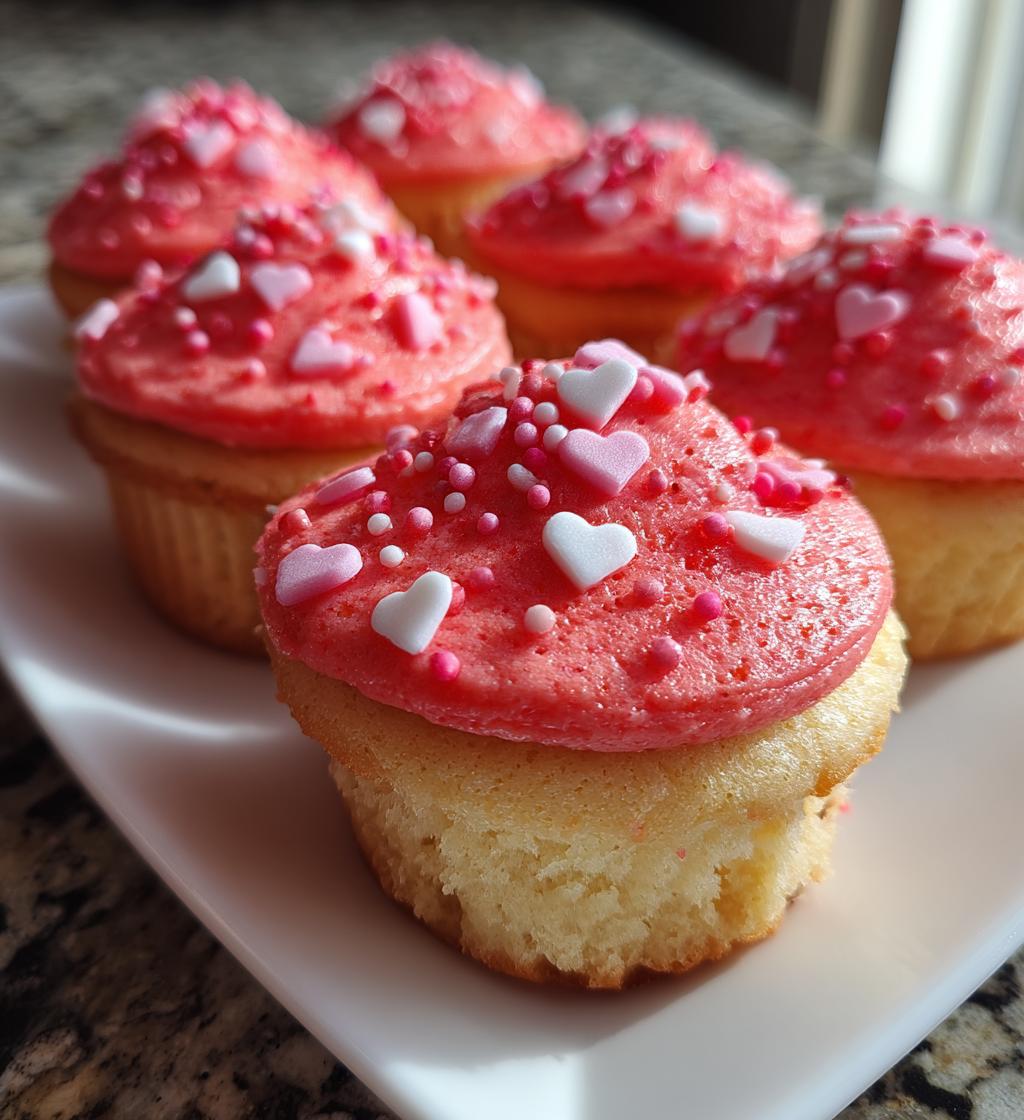
Ah, Valentine’s Day! A time for love, heart-shaped cards, and of course, delicious treats! And let me tell you, my *Valentine Cupcakes* are the perfect way to show someone just how much you care. There’s something so special about baking up a batch of these vibrant red delights, each one topped with fluffy frosting and maybe a sprinkle of heart-shaped confetti. I remember the first time I made them for my best friend; the look on her face when she took a bite was priceless! These cupcakes not only taste amazing, but they also brighten up any celebration with their cheerful color. Whether you’re surprising your partner, sharing with friends, or just indulging yourself, I promise these *Valentine Cupcakes* will add a sprinkle of joy to your day!
Ingredients List
To whip up these delightful *Valentine Cupcakes*, you’ll need some simple ingredients that come together beautifully. Here’s what you’ll need:
- 1 1/2 cups all-purpose flour
- 1 cup granulated sugar
- 1/2 cup unsalted butter, softened to room temperature
- 2 large eggs
- 1/2 cup milk
- 1 1/2 teaspoons baking powder
- 1 teaspoon vanilla extract
- 1/4 teaspoon salt
- 1/2 cup red food coloring
- 1 cup frosting (your choice, but I love a classic buttercream!)
Make sure your butter is nice and soft—it really helps achieve that fluffy texture we’re aiming for! And don’t skimp on the red food coloring; it’s what gives these beauties their signature Valentine’s Day vibe. Now, let’s get baking!
How to Prepare Valentine Cupcakes
Alright, let’s dive into making these irresistible *Valentine Cupcakes*! It’s easier than you might think, and I promise the results are totally worth it.
- First, preheat your oven to 350°F (175°C). This little step is crucial because you want your cupcakes to bake evenly and come out fluffy.
- While the oven is heating up, grab a mixing bowl and whisk together the flour, baking powder, and salt. Just a quick mix will do!
- In another bowl, cream the softened butter and granulated sugar together until it’s light and fluffy. Trust me, this is what gives those cupcakes their dreamy texture!
- Now, add the eggs one at a time. Make sure to beat well after each addition. This helps to incorporate air and makes your cupcakes nice and airy.
- Next, stir in the vanilla extract and milk until combined. It’ll smell heavenly!
- Gradually add your dry mixture to the wet ingredients, mixing until just combined. Be careful not to overmix—this is a common mistake that can lead to dense cupcakes!
- Now for the fun part! Stir in the red food coloring until you achieve that vibrant hue. Go bold with it; it’s Valentine’s Day after all!
- Line your cupcake pan with liners and fill each about 2/3 full with batter. This allows room for them to rise without overflowing.
- Bake for 20-25 minutes. You’ll know they’re done when a toothpick inserted into the center comes out clean. Let them cool in the pan for a few minutes before transferring them to a wire rack to cool completely.
- Finally, once they’re cool, frost them with your favorite frosting and maybe add a sprinkle of heart-shaped confetti for that extra touch!
And voilà! You’ve just made the cutest *Valentine Cupcakes* that are sure to impress!
Why You’ll Love This Recipe
Let me tell you, there are so many reasons to fall head over heels for these *Valentine Cupcakes*! Here’s why they’re going to become your new favorite treat:
- Quick to prepare: With just a few simple steps and around 40 minutes total, you can whip up a batch of these beauties that will have everyone asking for seconds!
- Ideal for sharing with loved ones: Whether you’re gifting them to a partner, surprising a friend, or bringing them to a gathering, these cupcakes are all about spreading love and joy.
- Perfectly themed for Valentine’s Day: Their vibrant red color and sweet frosting make them a charming addition to any Valentine’s celebration, capturing the spirit of the day!
- Deliciously moist and flavorful: Trust me, every bite is a delightful explosion of sweetness that will have you dreaming of them long after they’re gone!
So, roll up your sleeves and get ready to share some love with these fabulous *Valentine Cupcakes*! You won’t regret it!
Tips for Success
Before you dive into baking your *Valentine Cupcakes*, here are some of my tried-and-true tips to ensure they turn out perfectly every time!
- Measure accurately: Make sure to measure your ingredients precisely. Too much flour can lead to dry cupcakes, while not enough can result in a flat mess. Use a kitchen scale if you have one for the best results!
- Don’t overmix: Once you add your dry ingredients to the wet mixture, mix until just combined. Overmixing can activate the gluten in the flour and make your cupcakes tough instead of fluffy and tender.
- Room temperature ingredients: Using room temperature butter, eggs, and milk helps create a smoother batter and better texture. It’s a simple step that makes a big difference!
- Check for doneness: Remember to check your cupcakes a minute or two before the baking time is up. Ovens can vary, and you want to pull them out just as they’re set but still moist!
- Let them cool: Allow your cupcakes to cool completely before frosting. If they’re even slightly warm, the frosting may melt and slide right off. Patience is key!
- Decorate with love: Don’t hold back on the frosting and sprinkles! A generous layer of frosting and a sprinkle of heart-shaped decorations will make your cupcakes look as good as they taste.
Follow these tips, and you’ll be well on your way to baking the best *Valentine Cupcakes* that’ll impress anyone lucky enough to get one!
Variations
Want to take your *Valentine Cupcakes* to the next level? There are so many fun ways to customize these sweet treats! Here are some of my favorite variations that can add a personal touch and cater to different tastes:
- Chocolate Lovers: Swap out a third of the flour for cocoa powder to create a rich chocolate base. Top with a silky chocolate ganache instead of traditional frosting for an extra indulgent treat!
- Berry Bliss: Fold in fresh raspberries or strawberries into the batter for a burst of fruity flavor. They pair perfectly with a light cream cheese frosting that balances the sweetness beautifully!
- Red Velvet Twist: Add a tablespoon of cocoa powder to your red batter for a hint of chocolate in your classic red velvet-style cupcakes. Cream cheese frosting is a must here—it’s the perfect match!
- Nutty Delights: Stir in some chopped walnuts or pecans for an added crunch. A sprinkle of chopped nuts on top of the frosting gives a lovely texture contrast!
- Zesty Lemon: Want something a little different? Incorporate some lemon zest into the batter and swap the vanilla extract for almond extract. A light lemon frosting would complement this flavor beautifully!
- Fun with Frosting: Experiment with different frosting flavors like strawberry, lemon, or even a rich mocha. You could also make it a fun swirl by combining different frostings in a piping bag—so cute and delicious!
These variations make it easy to keep your *Valentine Cupcakes* fresh and exciting. Feel free to mix and match to create something uniquely yours, and watch the smiles grow even wider when you share them!
Storage & Reheating Instructions
Once you’ve baked and frosted your delightful *Valentine Cupcakes*, you’ll want to make sure they stay fresh for as long as possible! Here’s how to store those scrumptious treats and keep them tasting their best.
First off, if you have any leftovers (which is rare, but hey, it happens!), let your cupcakes cool completely before storing them. This is super important because if they’re still warm, they can create condensation in the container, making them soggy. Blech!
To store, place your *Valentine Cupcakes* in an airtight container. You can layer them with parchment paper in between to avoid any frosting sticking. Keep them in a cool, dry place at room temperature for up to 3 days. If you want to keep them longer, pop them in the refrigerator, where they’ll last about a week. Just remember, they may lose a bit of that fresh-out-of-the-oven softness when chilled.
If you want to store them even longer, you can freeze your cupcakes! Just wrap each one individually in plastic wrap and then place them in a freezer-safe bag or container. They’ll be good for about 2-3 months. When you’re ready to enjoy them, simply thaw them in the fridge overnight or at room temperature for a couple of hours. No need to reheat unless you want to warm them up slightly; they’re delicious either way!
Following these simple storage tips will keep your *Valentine Cupcakes* fresh and ready to share (or indulge in!) whenever the craving strikes!
Nutritional Information
As much as I love sharing these delicious *Valentine Cupcakes*, it’s important to keep in mind that the nutritional information can vary based on the specific ingredients and brands you use. So, while I’ve provided some estimated data below, please remember it’s just a guideline and not an exact measurement!
Here’s what you can expect per cupcake:
- Calories: Approximately 250
- Fat: 10g
- Saturated Fat: 5g
- Unsaturated Fat: 3g
- Trans Fat: 0g
- Cholesterol: 40mg
- Sodium: 150mg
- Carbohydrates: 35g
- Sugar: 20g
- Fiber: 1g
- Protein: 3g
Keep this info in mind as you enjoy your sweet treats, and remember, moderation is key! Happy baking!
FAQ Section
Can I use a different type of frosting?
Absolutely! While I love a classic buttercream, you can get creative with your *Valentine Cupcakes*. Try cream cheese frosting for a tangy twist, or a whipped ganache for something extra indulgent. The options are endless, and it’s all about what flavor you love!
What if I don’t have red food coloring?
No worries! If you’re in a pinch, you can use natural alternatives like beet juice for a lovely pink color. Or, if you’re feeling adventurous, you could make vanilla cupcakes and decorate them with red frosting instead. They’ll still be adorable and delicious!
Can I make these cupcakes gluten-free?
Yes, you sure can! Just swap out the all-purpose flour for a good gluten-free baking blend. Make sure it’s a one-to-one substitute, and you should be all set! Just keep an eye on the baking time, as gluten-free flours can sometimes alter the texture.
How do I make these cupcakes ahead of time?
If you want to prep these *Valentine Cupcakes* in advance, you can bake them a day or two ahead and store them in an airtight container. Just wait to frost them until the day you plan to serve them for the best texture and flavor!
Why did my cupcakes sink?
Ah, the dreaded sinking cupcakes! This can happen if you overmix the batter or if your oven temperature is too low. Be sure to mix just until combined and use an oven thermometer to check that your oven is at the right temp before baking. You’ve got this!
Valentine Cupcakes: 5 Blissful Reasons to Bake Today
- Total Time: 40 minutes
- Yield: 12 cupcakes 1x
- Diet: Vegetarian
Description
Delicious cupcakes perfect for Valentine’s Day.
Ingredients
- 1 1/2 cups all-purpose flour
- 1 cup granulated sugar
- 1/2 cup unsalted butter, softened
- 2 large eggs
- 1/2 cup milk
- 1 1/2 teaspoons baking powder
- 1 teaspoon vanilla extract
- 1/4 teaspoon salt
- 1/2 cup red food coloring
- 1 cup frosting
Instructions
- Preheat your oven to 350°F (175°C).
- In a bowl, mix flour, baking powder, and salt.
- In another bowl, cream butter and sugar until fluffy.
- Add eggs one at a time, beating well after each.
- Mix in vanilla and milk.
- Gradually add dry ingredients to wet mixture.
- Stir in red food coloring until well combined.
- Fill cupcake liners with batter.
- Bake for 20-25 minutes.
- Let cool and frost as desired.
Notes
- Use heart-shaped sprinkles for decoration.
- Store in an airtight container.
- These can be made a day in advance.
- Prep Time: 15 minutes
- Cook Time: 25 minutes
- Category: Dessert
- Method: Baking
- Cuisine: American
Nutrition
- Serving Size: 1 cupcake
- Calories: 250
- Sugar: 20g
- Sodium: 150mg
- Fat: 10g
- Saturated Fat: 5g
- Unsaturated Fat: 3g
- Trans Fat: 0g
- Carbohydrates: 35g
- Fiber: 1g
- Protein: 3g
- Cholesterol: 40mg
Keywords: Valentine Cupcakes